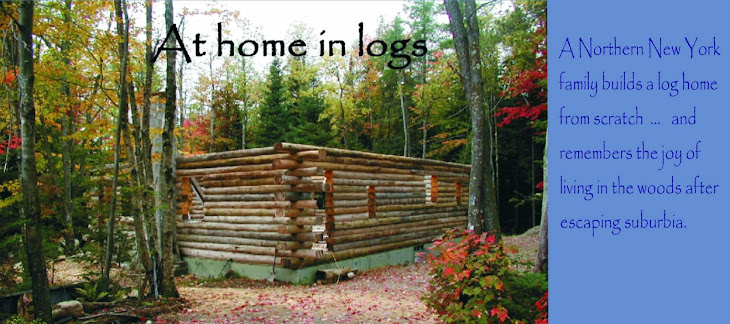
As promised in a previous post, here is a step-by-step account of transforming the structural material-formerly-known-as-tree.
The log is now bald, having had its bark and cambium removed, has seasoned for a year or two, has been milled so it now has two flat sides, is roughly the correct length for its place in the wall, and has had the approximate center of the log marked with a blue line. After consulting his *ahem* extensive plans (almost entirely contained in his head), The Husband measures and marks the log for its cuts.


The marks guide his cuts for a corner notch or corner tongue. The corner notch or tongue is made in the ends of logs that will meet at the corner of the house, so that they overlap like so:
August 9, 2007
After measuring and then marking the logs, the Husband makes the cuts with a chainsaw and hand chisel.

Chiseling corner notch.

Using chainsaw to cut corner tongue.
Another type of joint, the lap joint, is made where two logs will meet in the center of a wall. The end of one is cut to slip over and the other under, so that they join together to be a single course. The initial cut for the lap joint is made on the sawmill, by simply cutting the end of the log, horizontally, four inches down. Later, on the sawhorses, the vertical cut is made with a chainsaw, resulting in this:
----------------
Please join us next time, for the continuing saga.
1 comment:
I really am so impressed! I have to think theres so much pride and happiness in a job well done - and a job you do yourself. I love seeing how your home is unfolding.
Post a Comment